

Kitchen
Cleaning Stainless Steel Along the Grain
Your sink, your pots and the front of your fridge all carry fine lines in the metal. Clean along them, start with the mildest thing that works, and finish every time with a rinse and a dry cloth.
The lines you can see in the steel
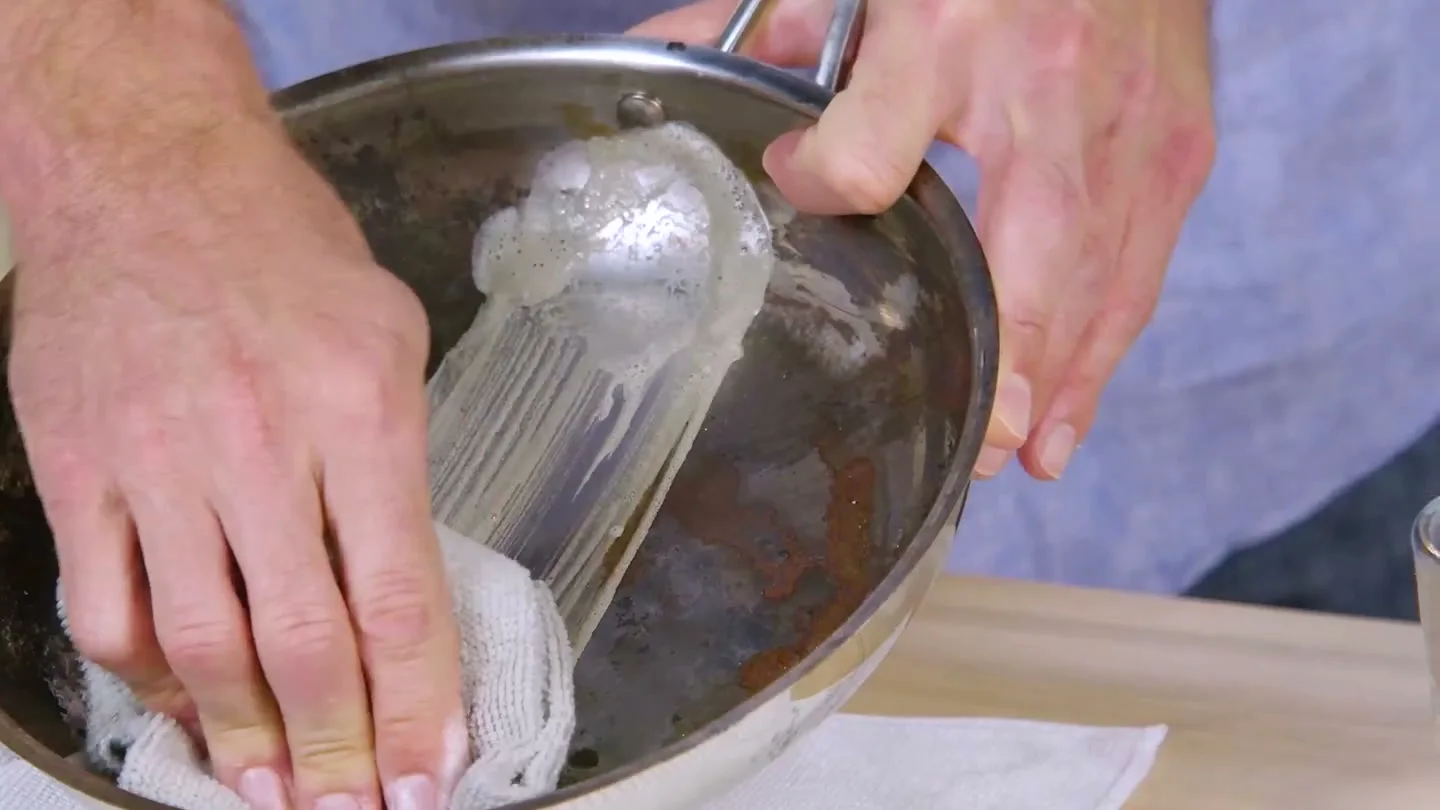
Look closely at a stainless steel sink or a dishwasher door and you will see fine parallel lines running one way across the metal. They come from the polishing that gave the steel its finish, and the stainless steel trade calls them polish lines. The direction changes from one piece of steel to the next. Run a fingertip gently across the metal and you can often feel the direction as well as see it.
Those lines decide how you clean. The care handbook published by the Specialty Steel Industry of North America says rubbing or wiping should follow the direction of the polish lines, not cross them. A sponge moved across the grain leaves marks that catch the light against the pattern, and once they are there they show from every angle. A sponge moved with the grain works in the same direction as the original finish, so whatever it leaves blends into lines that were already there.
Before you clean anything, find the grain on each surface you care about and remember it. The sink, the fridge, the oven door and the range hood may each run a different way. A surface with no visible lines may be a bright, mirror-like finish, and that kind of steel gets gentler treatment, which comes up below.
Start with the mildest cleaner and move up only if you need to
The SSINA handbook sets out an order, and it begins with almost nothing. Warm water, with or without a gentle detergent, is often enough for everyday dirt. A drop of dish soap in a bowl of warm water is the kind of gentle detergent this first step calls for. Use a sponge or a soft cloth, wipe along the grain, rinse and dry. A good share of the marks on a steel sink are dried water and soap film, and a warm wipe and a dry cloth take care of them.
Next in the order come mild, non-scratching abrasive powders of the kind sold as household cleaners, again with a sponge or soft cloth. When an abrasive is needed, the handbook asks you to experiment first on a spot that does not show, and names soft abrasives such as pumice, whiting or talc. It also warns that abrasives can permanently spoil bright and colored finishes. That is why the order matters: you only reach for the stronger step after the gentler one has failed.
Our Cleaner & Polish sits in that second step, and it is fair to say so. It is a clay paste, and clay is a mild abrasive. Try it first on a hidden spot, the inside edge of the sink or the back of a pot, before it goes anywhere you look at every day. On a mirror-polished or colored steel finish, stay with warm water and a gentle detergent.
| Step | What to use | When to move on |
|---|---|---|
| 1 | Warm water and a soft cloth or sponge, wiped along the grain | Marks still there after a rinse and a dry wipe |
| 2 | Warm water with a gentle detergent | Film or dried spots that water alone leaves behind |
| 3 | A mild abrasive cleaner, such as a clay paste, on a sponge with light pressure | Only after a test on a hidden spot, and not on mirror or colored finishes |
| Every time | A rinse with clean water and a dry wipe | This is the last step of every clean |
The order follows the SSINA care handbook. Steel wool, carbon steel brushes and chloride-containing cleaners stay out of every step.
Why steel wool and chloride cleaners stay away
Two things the handbook rules out completely, and both are easy to grab by mistake. The first is steel wool, along with ordinary carbon steel brushes. They scratch, but the handbook's main worry is different: they can leave tiny particles of ordinary steel embedded in the surface. Those particles rust. You end up with orange specks on a sink that is itself stainless, and the specks come back after cleaning because they sit in the metal.
The second is any detergent that contains chlorides, which the handbook says must be avoided on stainless. Read the label of a cleaner before it goes near your sink. The label of our paste lists four things: clay, vegetable oil, vegetable glycerin and fragrance.
Look at what is in your hand as well as what is in the bottle. The handbook pairs every step with a sponge or a soft cloth. Many kitchen sponges carry a rough scouring side, and that side is a different tool. Turn the sponge over before it touches the steel, and keep the soft face working along the grain.
While you are reading labels, keep cleaners apart. Poison Control warns that bleach mixed with ammonia, a common ingredient in glass cleaners, makes chloramine gas, and that bleach mixed with an acid such as vinegar makes chlorine gas. The EPA asks you never to mix household products unless the label tells you to. On steel, one cleaner at a time, rinsed off before the next, is the rule to keep.
Pots, pans and the outside of the base
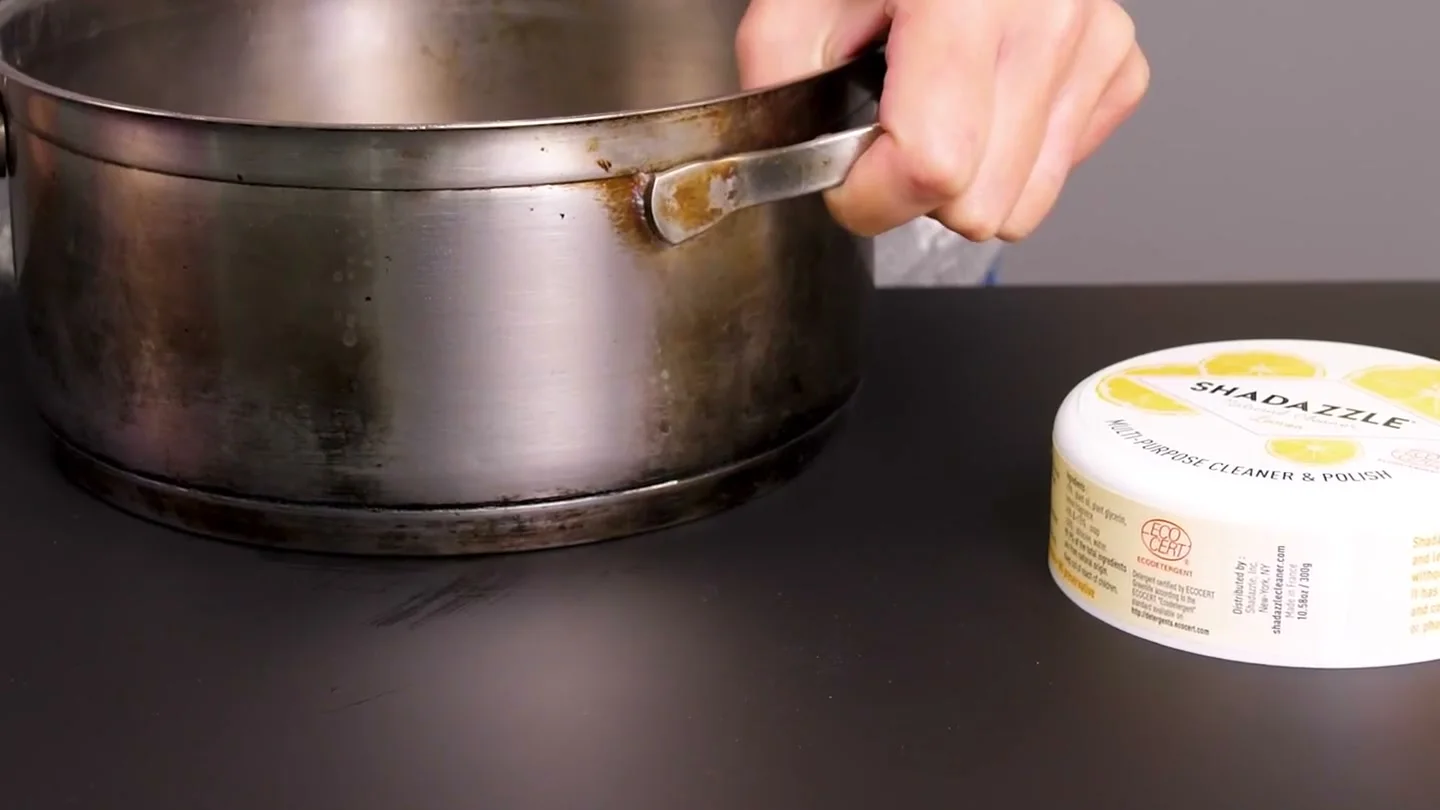
A steel pan takes most of its marks on the outside. Oil splashes run down the sides and cook on, and a brown ring builds up around the base where the flame or the zone meets it. Those marks sit on stainless steel, which is on the paste label, so the outside of a pan is good work for the tub.
Start the way the handbook starts, with warm water and dish soap, and see what comes off. Then wet the sponge from the tub, rub it on the paste until it foams, and work over the sides with light pressure along the polish lines. If the base shows circular lines, follow them round rather than scrubbing straight across. Do the base last, upside down on a towel in the sink, so the foam does not run onto the counter.
Keep the paste to the outside and the base. Inside the pan, where food sits, dish soap and a brush do the cleaning. When you finish, rinse the pan thoroughly inside and out, wash it once more with dish soap before it goes back on the stove, and dry it with a cloth before it goes into the cupboard. A pan put away wet comes out spotted.
Mirror-polished pans and colored ones are where the handbook's warning about abrasives matters most. Keep those to warm water, a gentle detergent and a soft cloth, and leave the tub for the brushed steel.
Rinse and dry, or the spots come back
The handbook ends every cleaning method the same way: a final rinse with clean water and a dry wipe, which removes the chance of water stains. It sounds like a small thing, and it is the step that decides how your steel looks an hour later. Water left on stainless dries where it stands. Whatever was dissolved in it stays behind as a spot, and a sink full of spots looks dirty even when you cleaned it ten minutes ago.
With our paste, the rinse matters twice. Paste left to dry on a surface can leave a white film, so rinse thoroughly until the foam is gone, then dry the steel straight away with a clean cloth. Work the cloth along the grain as well. Drying across the lines can leave faint streaks on a brushed finish that you only see in the afternoon light.
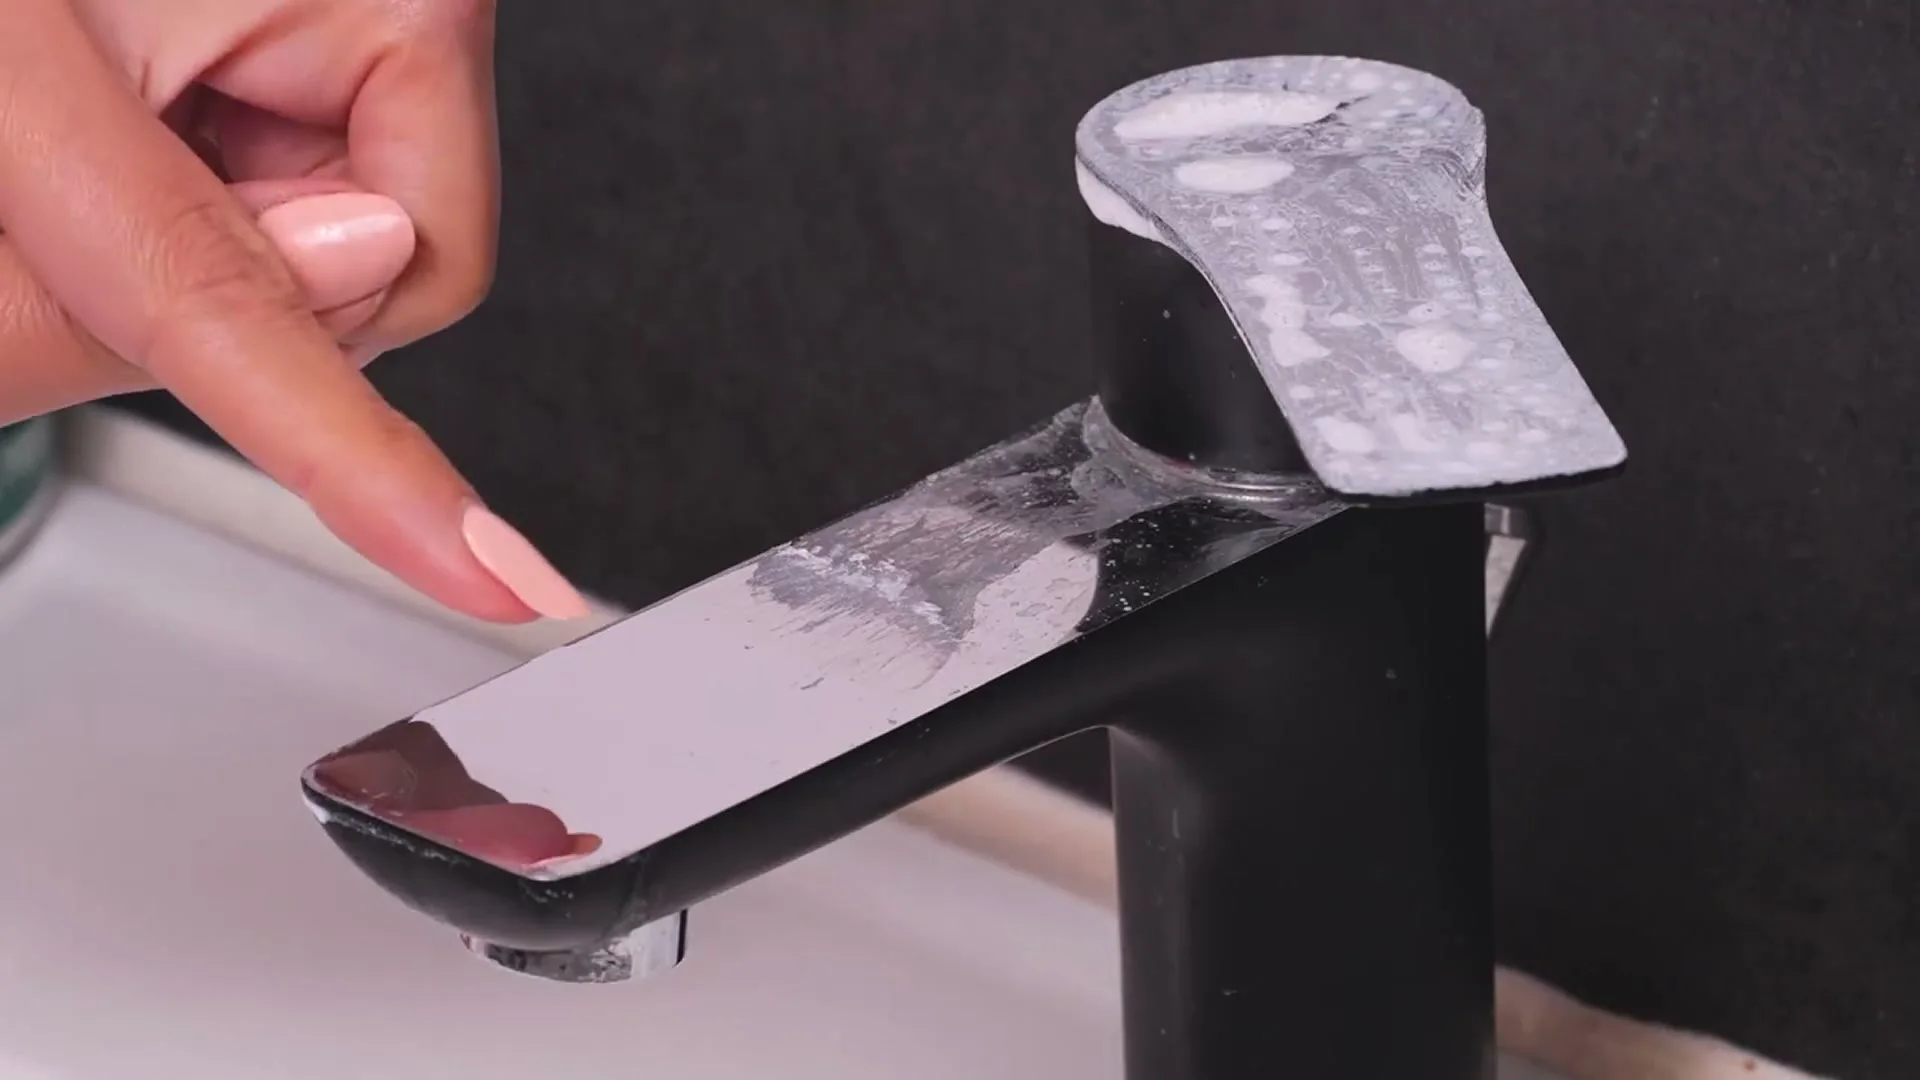
The chrome faucet beside the sink gets the same rinse and dry. Chrome is on the label of our paste, though the steel handbook does not cover it, so give it the same care: a hidden spot first, light pressure, then water and a dry cloth.
A microfiber cloth suits this last wipe. The University of Washington fact sheet describes microfiber as a split polyester and nylon fiber that holds several times its weight in liquid and picks up dust rather than pushing it around. Our nanofiber cloths are a finer cut of the same idea, about 11.8 inches square, two to a pack, and they go in the washing machine when they need it. The fact sheet asks you to wash microfiber only with other microfiber and to skip the bleach.
Fingerprints on fridge and dishwasher fronts
Appliance fronts collect a different kind of mark. Fingerprints are mostly the oil from your hands, and they gather on the handle side of the fridge and around the dishwasher latch. Start with the gentlest tool. Dampen one nanofiber cloth with water, wring it out hard, wipe along the grain, and follow with the second cloth, dry. On a door you clean often, that is usually the whole job.
When prints stay put, the SSINA handbook suggests a glass cleaner, or a paste of baking soda and water, followed by a warm water rinse and a dry wipe. Poison Control's warning about ammonia in glass cleaners applies here, so keep bleach well away from that step. Our paste is another option for a stubborn patch: a little foam on the sponge, light pressure along the grain, then a damp cloth, then a dry one. Test it first on a part of the door that sits out of sight, such as the lower edge.
A fridge front is a large, flat, bright surface, so any change shows. Work in sections from top to bottom, and keep each stroke running the full length of the grain rather than scrubbing one spot in circles.
A short routine for a steel sink
For a stainless sink that has gone dull, work in this order, taken from the handbook and the steps on our tub.
- Find the grain of the sink and keep every stroke running with it.
- Wipe with warm water and a gentle detergent first. Rinse and dry, and stop here if the sink looks clean.
- For film that stays, wet the sponge from the tub, rub it on the paste until it foams, and use the paste sparingly.
- Clean with light pressure along the grain, a section at a time.
- Rinse thoroughly with clean water until no foam is left.
- Dry at once with a clean cloth, again along the grain.
A sink you use every day needs only the first and last of those steps on most days: warm water along the grain, a rinse and a dry cloth. The paste comes out when a film builds up that water and soap leave behind. Used that way, a tub sits in the cupboard for a long while, because the label asks for the paste sparingly in any case.
Our stainless steel page shows the paste, the cloths and the set side by side. For what goes into the tub, see Shadazzle ingredients, and for the sponge steps on every surface the label names, how to use Shadazzle.
