

Wood
White Rings on a Wood Table: What They Are and What to Try
A cold glass left on the table overnight, and in the morning there is a pale ring in the shine. That ring sits in the finish, not in the wood, and how you treat it starts with knowing that.
What a white ring is
Most wood tables in a home are not bare wood. They wear a clear finish on top, a coat of varnish, lacquer or shellac that gives the surface its shine and keeps spills out of the grain. When you find a white ring under a glass, a mug or a vase, you are looking at that coat, not at the wood beneath it.
The Canadian Conservation Institute publishes care notes for furniture in museums and homes. It says water usually damages natural resin finishes quickly and visibly, and warns against spilled drinks and vases on horizontal surfaces for that reason. Its notes also give the name for the change you are seeing. A finish that reacts to water can blanch, which means it turns white or cloudy. The ring is the finish going pale where the water sat. It can be a thin pale line or a full cloudy disc the size of the glass.
That is useful to know before you start rubbing. The wood under the ring is usually as it was. What changed is a thin layer above it, and anything you do to the ring, you do to that layer. Treat it gently and keep it dry, and you keep the rest of the table as it is.
It also tells you why rings appear where they do. A cold drink sweats onto the table, a vase leaks a little at the base, a wet dish towel gets left in one spot. Coasters and a dry cloth wiped round after a meal do more for a table than any product.
A ring can also turn up somewhere you did not expect, such as under a potted plant on a windowsill or below a bowl of fruit that was rinsed and set down wet. If you find one, move whatever made it and let the surface dry in the air of the room before you decide what to do. A finish that is still damp is the worst moment to start rubbing.
First, look at the finish you are working on
Not every finish is a candidate for cleaning. The National Park Service guidance on cleaning wood furniture was written for museum pieces, and its first rule suits a dining table too. Clean beyond dusting only when needed, and only on a sound, stable, clear finish such as shellac, varnish or lacquer, or on wood with no finish at all. A finish that is brittle, cracked, raised or flaking is to be left alone.
Run your eye and your fingertips over the table before you touch the ring. Is the finish smooth and whole around the mark? Then you can go on. Is it crazed with fine cracks, lifting at the edges, or peeling? Then the ring is the smaller problem, and the piece needs a furniture restorer before it needs a cloth.
The same NPS guidance sends two more kinds of furniture to a conservator: painted pieces, and pieces finished with wax alone over bare wood. Veneer and inlay on older furniture also get special care in that guidance, with as little water as possible and work done in small sections. If your table is an antique with veneer lifting at a corner, or a painted piece with a white bloom on it, call a professional.
| What you see | What to do |
|---|---|
| A white or cloudy ring on a smooth, whole clear finish | Test on a hidden spot, then try the restorer on a cloth as described below |
| A ring on a finish that is cracked, raised or flaking | Leave it. The finish needs a furniture restorer first |
| A painted table or chair | Ask a furniture restorer |
| Wax only, over bare wood | Ask a furniture restorer |
| Veneer or inlay on an old piece | As little moisture as possible, small sections, and a professional if anything is loose |
| Dust and fingerprints only | A few drops of restorer on a cloth, then a dry wipe |
Based on the NPS and CCI guidance on furniture finishes. A ring that sits in a sound finish is the only case here we suggest working on at home.
Test on a spot nobody sees
Both sources agree on the first move. The NPS guidance asks for a test in a small, inconspicuous area before any cleaning. The CCI notes describe the test in detail. Touch a barely damp swab to a hidden spot, wait, and check that the finish neither dissolves nor blanches. Then dry the surface at once.
Pick a place that has the same finish as the top but sits out of sight. The underside of the overhang, the back of a leg or the inside of an apron works on most tables. Apply whatever you plan to use there first, in the same way you would on the ring, wait, and look in good light. If the test spot turns white, cloudy or sticky, stop. That finish does not like what you put on it, and the ring will not either.
Give the test time. A finish can look fine in the first minute and change once the moisture has had a while to work. Come back to it after you have done something else in the kitchen, then decide.
Water sparingly, and dry completely
Water is what made the ring, so every step that follows keeps it to a minimum. For a sound finish, the NPS guidance uses a mild soap in warm water on a cloth wrung out well. A wipe with clean water follows, and then the surface is dried completely. It warns against detergents, which leave a film. On veneer it asks for even less water and work in sections.
Dust the table first with a soft cotton cloth, so you are not grinding grit into the finish while you work on the ring. The NPS guidance asks for a soft cotton cloth, and an old T-shirt washed many times makes a good one. Then keep everything you use damp rather than wet, and dry each patch before you move to the next. A cloth that drips onto the table is adding to the problem you came to fix.
One more thing from the CCI notes changes how you think about wood products. Wood, it says, does not need to be fed with oils to replenish its natural oils or moisture. The finish protects the wood, and the wood is not thirsty under it. CCI also warns that many restoration products and polishes contain waxes, oils or silicones that build up into a sticky layer that holds dust. Whatever you use, use a little, and wipe it off.
How we use our Natural Wood Restorer on a water mark
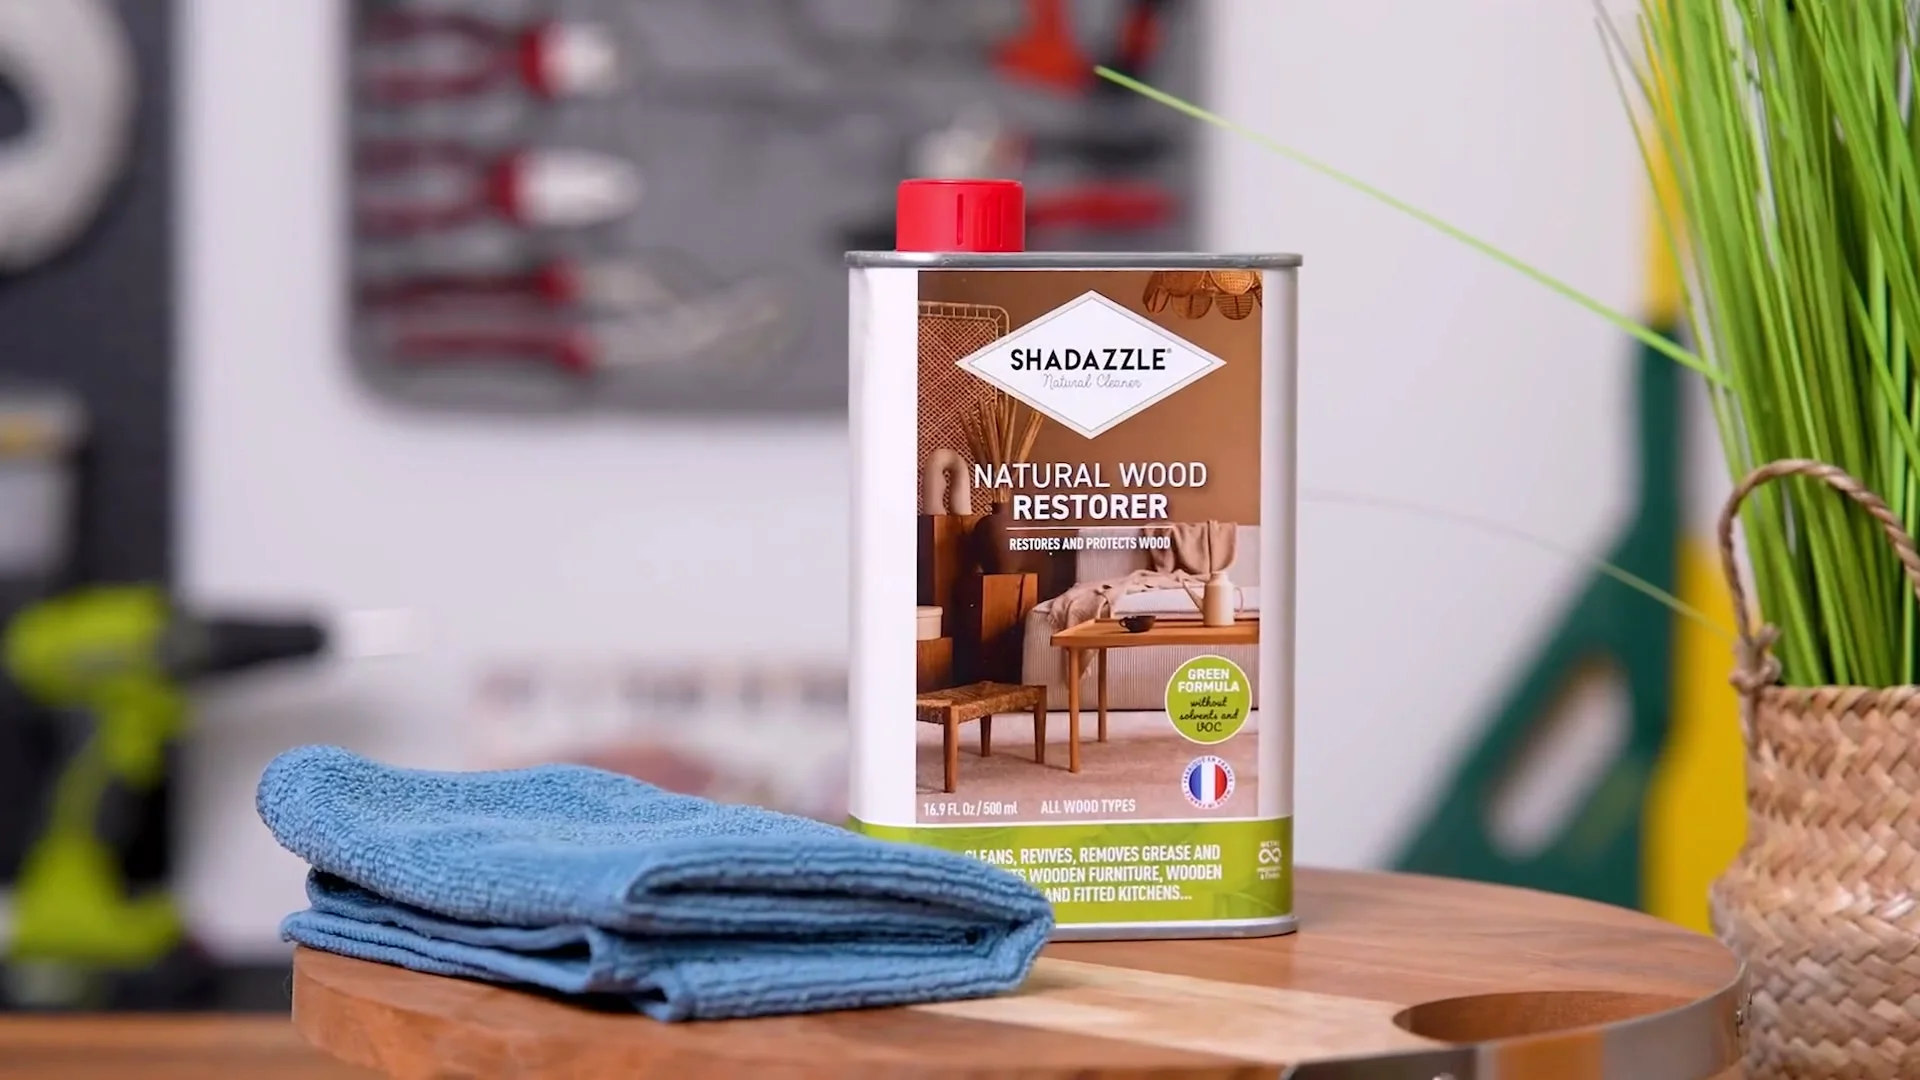
Our Natural Wood Restorer is a solvent-free liquid in a 500 ml tin, made for finished and sealed wood: tables, chairs, cabinet doors, fitted kitchens and floors. It cleans the surface of the finish. It does not feed the wood, which needs no feeding, and not every ring will go. What we can tell you is how it is meant to be used on a water mark.
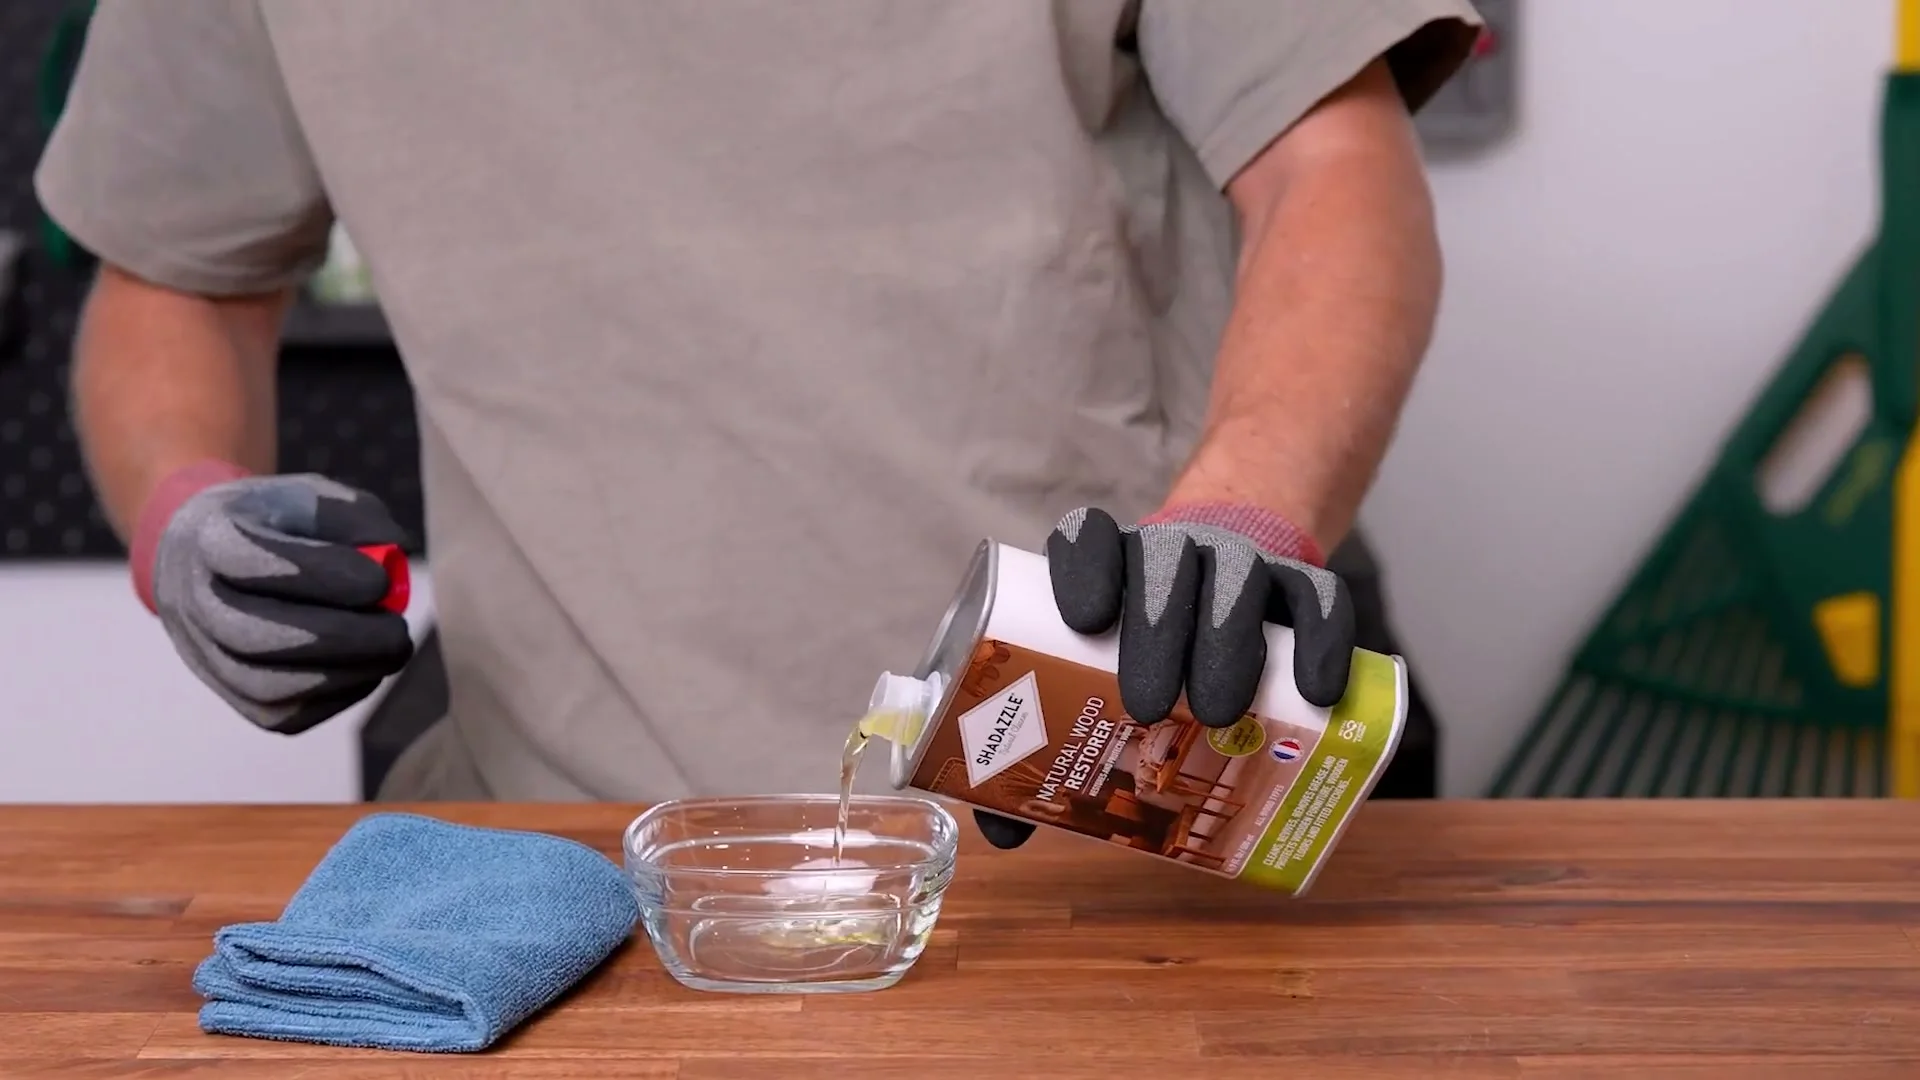
After your test spot has passed, pour a little onto a soft cloth or a cotton pad, never onto the table. Rub it over the ring and the finish around it, working along the grain of the wood rather than in circles. Wipe the surface with a dry cloth so nothing is left sitting on top. How much is a little? Enough to dampen the cloth, never enough to wet it. If the cloth leaves a gloss of liquid on the finish, you used too much, and the dry wipe should take it up. For a water stain or a white spot, come back after two to three hours and wipe again. Then look at the ring in daylight, from the side as well as from above.
Look again after the second wipe. If the ring is still there and the finish around it looks the same as before, leave it at that and talk to a furniture restorer about the finish itself. Do not reach for the Cleaner & Polish paste. Its label leaves wood out, and the clay has no place on a table top.
Read the label on the tin and use the product as it directs, with fresh air in the room, as the EPA asks of household products in general. Keep the tin closed and out of reach of children and pets.
When to stop and call a furniture restorer
A cloth and a tin are for a sound clear finish with a mark in it. Some tables need more than that, and the honest step is to leave them alone and find someone who restores furniture for a living.
Call one if the finish is cracked, crazed, raised or flaking around the ring or anywhere else on the top. Call one for painted furniture, and for a piece finished with wax alone over bare wood, which the NPS guidance sends to a conservator. Call one for an antique with veneer that is lifting, bubbling or missing at an edge, and for inlay that has come loose. Call one, too, if your test spot turned white, cloudy or sticky, because the finish has already told you how it takes moisture.
When you do, bring the facts. Tell the restorer what the finish looks like now, how the ring got there and what you have tried, including the restorer and the date of your test. Keep the tin so you can show the label. It is much easier to work on a finish when you know what has already touched it.
Everyday care that keeps the rings away
Most of what keeps a wood table looking right is simple. Coasters under glasses and mugs. A mat under the vase, and a saucer under every plant pot. Spills wiped up while they are fresh, and the surface dried after. The CCI notes put regular care in the same terms: damp dusting, polishing, and waxing only now and then.
- Dust with a soft, dry cloth, or one wrung out until it is barely damp, then dry the surface.
- Keep drinks and vases on coasters and mats, never straight on the finish.
- For dust and fingerprints, a few drops of restorer on a cloth, then a dry wipe.
- Test anything new on a hidden spot first, even a product you have used on another table.
- Leave cracked, flaking, painted and antique veneered pieces to a furniture restorer.
Our nanofiber cloths are a good dry cloth for the final wipe. They are about 11.8 inches square and machine washable. The wood page puts the restorer and the cloths together, and where Shadazzle works lists which of our products goes on which surface in your home, wood included.
